
Village in the Shade Money Making: Early Cash and Upgrade Planning
Plan early income in Village in the Shade with a small crop plot, resource gathering, mining priorities, and clear profit limits.
How can you build income without spending your upgrade reserves?
For Village in the Shade money making, start with a small crop plot and keep your daily route flexible. Use available foraging and fishing to fill gaps, then add targeted mining when you need upgrade materials. Only commit to processing after the machine’s displayed input costs and sale value show a clear reason to do so.

The Perfect Farming Sim for Halloween is here! Village in the Shade · Josh's Gaming Garden
General reference: third-party English-language gameplay of the original 2026 game. This is not a dedicated tutorial for the topic below, a device benchmark, or evidence of extracted values, quest order, or Patch 1.30 behavior.
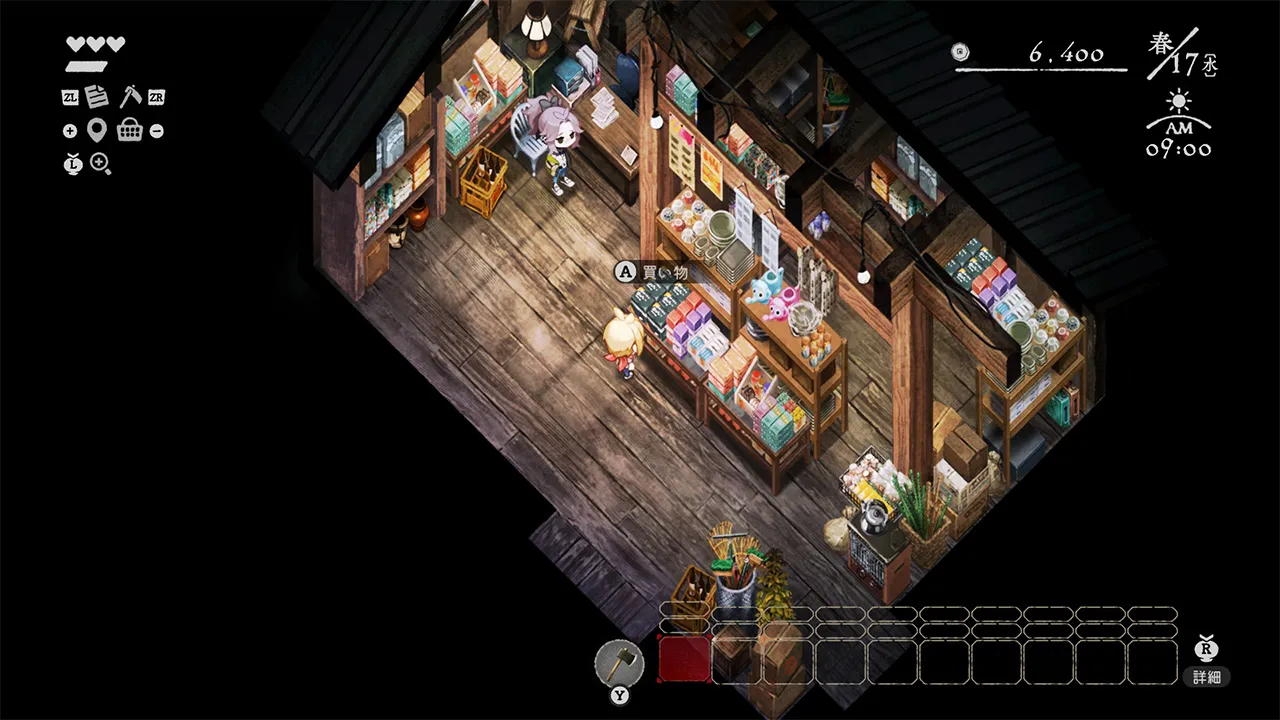
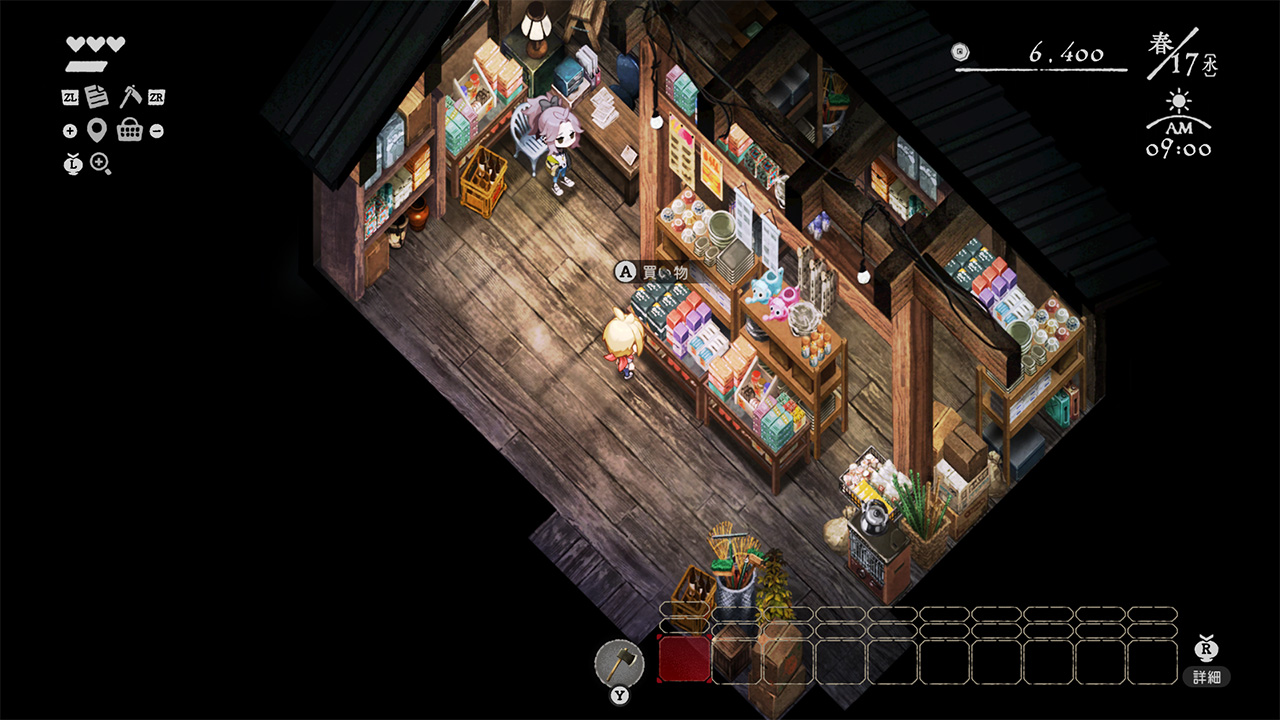
Cover context: Official original-game screenshot inside the General Store, illustrating purchases and the village economy. Japanese UI is retained. The displayed money and stock are promotional footage, not evidence for this guide’s crop budget examples or an earnings rate.
The most important distinction is between gross sales, seed-only margin, and actual net profit:
- Gross sales are the value of everything you sell.
- Seed-only margin is gross sales minus the seed purchase.
- Actual net profit would also account for labor, time, stamina, travel, watering, tool upgrade costs, infrastructure, and any materials you could have sold or used elsewhere.
The official daily-life overview confirms the broad income loop: sow, water, harvest, and ship crops, while gathering, fishing, hunting, and crafting provide other activities. It does not establish a universal best route or guaranteed earning rate. See the official daily-life systems overview for that confirmed loop.
Early cash plan by stage
Your best money-making choice changes as access, stamina, and setup improve. Treat the following as a planning framework rather than a fixed progression schedule.
| Stage | Practical income focus | Main limitation | Recommended decision |
|---|---|---|---|
| Fresh save | Small crop plot plus available foraging and fishing | Limited cash, stamina, and setup | Avoid spending everything on a large field. Keep money for essential access and tools. |
| Basic field established | Repeat one small harvest cycle while gathering on travel routes | Crops tie up money and time until harvest | Replant only what you can maintain without losing useful gathering or task time. |
| Mining access available | Targeted mining for materials needed by the next tool or facility | Deeper exploration consumes time and stamina | Enter with a specific material goal instead of mining until exhausted. |
| Processing option displayed | Compare the machine’s own input costs with its output value | Unknown or changing recipes can hide costs | Process only when the displayed recipe leaves a worthwhile margin after materials and setup. |
| Larger routine | Combine farming, mining, gathering, and fishing around your current bottleneck | Travel and stamina can reduce real returns | Choose the activity that advances your next upgrade, not merely the activity with the largest sale number. |
This is an editorial recommendation. Exact unlock days, task rewards, machine recipes, and upgrade inputs are not established by the selected evidence, so check each requirement in your current game before committing resources. The farming guide covers field actions in more detail, while the tool upgrades guide can help you decide which improvement is worth saving for.
A transparent turnip-versus-potato example
The following is a deliberately limited, single-harvest comparison. It uses only turnip and potato, with one seed planted per tile and one successful harvest.
| Crop | Seeds purchased | Seed cost (¥) | Gross sales (¥) | Seed-only margin (¥) | Nominal growth |
|---|---|---|---|---|---|
| Turnip | 10 | 200 | 360 | 160 | 4 days |
| Potato | 10 | 500 | 820 | 320 | 6 days |
The calculation is simply:
- Turnip: 10 × 20 seed cost = 200; 10 × 36 sale value = 360; 360 − 200 = 160 seed-only margin.
- Potato: 10 × 50 seed cost = 500; 10 × 82 sale value = 820; 820 − 500 = 320 seed-only margin.
These figures come from the unofficial extracted crop snapshot for Steam build 25311578, not from this guide’s playtesting. The snapshot is not proof that every value was retested on current English Patch 1.30 or on every console. The item descriptions were translated editorially from the extracted records and should not be treated as verified English UI strings. See the crop growth snapshot and matching seed and produce prices.
How to use the comparison
The potato row has the larger seed-only margin in this narrow example, but that does not make potato the best crop in every situation. It costs more cash up front, occupies the field longer, and may compete with other uses for your stamina and time. Turnips require less starting money and mature sooner in the snapshot, which can matter when you need cash or want to keep the plot flexible.
Neither row is a full profit calculation. The example excludes:
- Watering and other labor.
- Travel time and stamina.
- Tool, infrastructure, or field costs.
- Failed harvests or missed maintenance.
- Spoilage, quality premiums, or other sale modifiers.
- The opportunity cost of mining, fishing, gathering, or completing tasks.
Use the comparison as a budget check: can you afford the seeds, and can you wait for the nominal growth period? Do not use it as a yen-per-day or yen-per-hour ranking.
Setup, access, time, and stamina
Keep the first plot small
A small plot reduces the risk of locking your money into crops before you understand your daily route. It also leaves room for trips to gather materials, visit available fishing spots, or handle village objectives. Expand after you can maintain the existing plot without repeatedly sacrificing the next upgrade or running out of stamina.
The extracted turnip description associates it with ridges, while the potato description associates it with a field. Those descriptions support checking the correct planting area, but they do not establish that either crop is universally superior. Confirm the location and planting requirements in your own item or field interface.
Match activity to access
When you have little access, prioritize activities you can perform immediately rather than planning around a locked facility. A fresh save should not assume access to a later setup, a deep mining route, or a processing chain. If a shop, field type, machine, or upgrade is unavailable, treat that as a planning constraint rather than spending resources trying to imitate a later-game routine.
For exploration, the official quarry introduction confirms that ore and gemstones appear in the Quarry, with more valuable materials favored on deeper floors. It also warns that time and stamina need management, and that mine carts at every tenth floor provide shortcuts for entering or resuming mining. Read the official Quarry introduction for those confirmed system details.
Use a stop condition in the Quarry
Before entering, write down one reason for the trip:
- Obtain a material shown in your next tool requirement.
- Reach a known shortcut that makes future runs easier.
- Collect enough ore for a displayed recipe or upgrade.
Leave when the goal is met, stamina is too low for a safe return, or the remaining route no longer advances your plan. This is usually more useful than treating every deeper floor as automatic profit. For route-specific details, use the mining guide.
Material reserves and upgrade planning
Money is only one resource. Spending every sale on seeds can delay tools, access, or crafting. A simple reserve policy helps:
- Reserve the next visible requirement first. If an upgrade or task displays a cost, set those materials and cash aside before buying extra seeds.
- Keep a small operating buffer. Hold enough money for the next necessary purchase rather than ending every cycle at zero.
- Do not sell uncertain materials immediately. If you do not know whether an item is needed, store it until a recipe, upgrade, or task identifies its use.
- Mine with a purpose. Target the material connected to your next improvement instead of collecting every resource without a destination.
- Expand only after maintenance is comfortable. A larger field is not automatically better if it consumes the stamina needed for mining or travel.
- Recalculate after each upgrade. A tool or facility may change which activity is practical, but do not assume its cost is recovered immediately.
The tool upgrades guide is the appropriate place to check upgrade-specific information. Exact Anvil inputs and the timing of every upgrade are not established in the selected evidence here, so use the displayed in-game requirement as the authority for your save.
When processing is worth considering
Processing can look more profitable because the final item may sell for more than a raw crop or material. That comparison is incomplete unless you include every displayed input:
- Raw materials consumed.
- Purchased ingredients, if any.
- Fuel or other machine costs, if shown.
- The time and stamina needed to gather the inputs.
- The value of selling the raw materials instead.
- Any setup or infrastructure cost required to use the machine.
Use this checklist before starting a chain:
| Check | What to verify in-game | Decision |
|---|---|---|
| Recipe access | Is the machine or recipe available in your save? | If locked, keep using direct sales and gathering. |
| Input cost | What materials and purchased items does the display consume? | Count every visible input, not just the crop. |
| Output value | What does the resulting item currently display as its sale value? | Compare it with selling the inputs directly. |
| Opportunity cost | Could those materials complete a tool, task, or facility sooner? | Reserve them if the upgrade has higher priority. |
| Repeatability | Can you gather the inputs without exhausting your route or stamina? | Use processing only when the chain fits your routine. |
The recommendation is not to build a processing setup at the first opportunity. Add one when its own displayed costs justify it for your current resources and goal. A processing chain that requires scarce upgrade materials may be a poor early investment even if its final sale value looks attractive.
A repeatable daily checklist
Use this short routine when deciding how to spend the next in-game day:
- Check the season and remaining time before buying seeds.
- Confirm that the field or ridge can support the crop you intend to plant.
- Water and harvest existing crops before leaving, when those actions are due.
- Keep part of the day open for the material required by your next upgrade.
- Fish or forage when those activities fit the route and do not require an unverified price assumption.
- Enter the Quarry only with a material target and a stamina stop point.
- Ship surplus goods, but hold uncertain materials until their use is clear.
- Recheck cash, reserves, and displayed requirements before expanding the plot.
- Compare gross sales with seed-only margin, then ask what the activity actually cost in time and materials.
This approach keeps farming useful without turning it into an isolated profit spreadsheet. Your practical net result depends on what the harvest lets you buy next, how much travel it requires, and whether mining or gathering would have advanced a more urgent upgrade.
FAQ
Is potato better than turnip?
Not universally. In the limited ten-seed example, potato has a larger seed-only margin but costs more up front and has a longer nominal growth period. Neither figure includes labor, stamina, travel, or infrastructure.
What is the fastest money-making method?
The selected evidence does not support a verified fastest method or a yen-per-hour ranking. Start with a small plot, use available gathering and fishing, and target mining when an upgrade gives you a clear material goal.
Should I sell mining materials?
Sell only clear surplus. If a material may be needed for a displayed tool, machine, task, or facility requirement, reserve it until you know its role. Deeper Quarry floors can favor more valuable materials, but that does not make every material disposable.
Should I build processing equipment early?
Only when the displayed recipe and sale value justify the inputs for your current stage. Do not assume a locked setup belongs in a fresh save, and do not count a processing chain as profitable until you compare all visible costs with direct sale value.
Continue with related guides
- Farming and seasonal crops
- Quarry mining
- Anvil and tool upgrades
- Helping task checklist
- Story progression
Media sources
Related Articles
guide
Village in the Shade Copper Mold: Shop Reports and Upgrade Checks
Community references identify the Copper Mold as a tool-upgrade item and point to Sazanka’s General Store, with a reported price of 1,000 yen.
guide
Village in the Shade Farming Guide: Fields, Seasons and Crop Costs
Plan fields, ridges and paddies with selected crop costs, season windows, rice timing and planting checks.
guide
Village in the Shade Fish Locations: Choosing the Right Fishing Spot
Village in the Shade has several fishing areas, so one village river is not the answer for every species.
Was this helpful?
Thanks for the feedback!